Mastering the Art of Covering Drywall Tape: A Complete Guide
Mastering the Art of Covering Drywall Tape: A Complete Guide
DRYWALL COATING
Jason Lebeau has been working in the drywall industry for 24 years
11/26/20253 min read
Understanding Drywall Tape and Its Importance
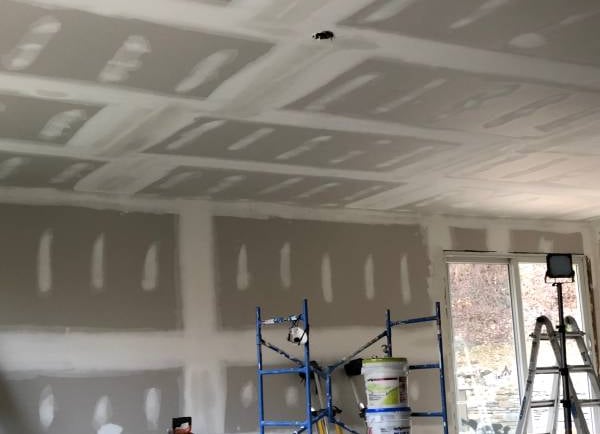
Drywall tape is essential for joining drywall seams and creating a smooth, professional surface. It covers the gaps between sheets, strengthens the joints, and helps prevent cracks. If the tape isn’t covered well, seams can look messy and may get damaged, which can be expensive to fix. Learning how to cover drywall tape with joint compound is important for a clean finish.
There are two main types of drywall tape: paper tape and self-adhesive mesh tape. Paper tape is strong and resists tearing, making it well-suited for flat joints and inside corners. You need to put joint compound under the paper tape to make it stick firmly. Self-adhesive mesh tape is easier to use because you can stick it right onto the drywall without any compound underneath. It’s especially helpful for repairs or places where the wall might move, since it adds extra strength.
Even with good tape, it can be tricky to hide drywall seams. Getting a smooth surface is often hard for beginners. If the joint compound isn’t spread evenly, seams can show, making the wall look less attractive. To avoid this, spread the compound evenly over the tape and smooth out the edges so they blend into the wall. This helps later coats go on smoothly and keeps the tape hidden. Practicing these steps will help you get a professional-looking finish.
Preparing for the First Coat of Compound
Before you start applying joint compound, make sure you’ve done all the prep work. Good preparation makes it easier to hide the tape and get a better finish. Gather your tools: a drywall taping knife, joint compound, a mud pan, and sanding supplies. Mix the joint compound until it’s smooth. If it feels too thick, add a little water to thin it out.
It’s important to clean the surface before you start. Dust, dirt, or leftover glue can prevent the compound from sticking and cause the finish to become uneven. Wipe the taped joints with a damp cloth or sponge to remove any mess. Let everything dry thoroughly before you move on.
When applying the joint compound, it is crucial to employ the proper technique with the taping knife. Using moderate pressure, spread the compound over the taped seams, ensuring that it extends at least 6 inches beyond the tape's edges. This helps to feather the edges, creating a seamless transition. It is advisable to apply a thin layer of the compound, as this will reduce the chances of excess drying time and cracking. A little compound goes a long way, so it is better to apply additional coats as needed rather than loading too much on the initial pass.
In short, taking the time to prepare and using the right techniques will help you apply drywall tape effectively. This makes the next steps of finishing much easier and leads to better results.
Applying the First Coat of Joint Compound
Applying the first coat of joint compound over the tape is key to getting a smooth, professional look. The compound should be about as thick as creamy peanut butter, so it spreads easily without dripping. If it’s too thick, add water a little at a time until it feels right. Mix it well so it’s even. It is ready. Begin the application. With a 6-inch or 8-inch taping knife, scoop a moderate amount of compound. Hold the knife at a 30-degree angle to the tape and apply the compound, starting at the center and moving outward in both directions. This distributes the compound evenly and fills any gaps or imperfections.
As you apply the first coat, make sure to cover the entire width of the tape. Don’t use too much compound, as thick layers can make sanding and finishing later harder. A thin layer, about 1/16 to 1/8 inch thick, is usually enough. Check for smoothness as you go, and use the knife to blend the edges into the wall.
Let the first coat dry completely, which usually takes about 24 hours, depending on the weather. Once it’s dry, check the surface for any spots that need fixing before the next coat. Taking your time and using good technique here will help you get a great final result.
Finishing Touches and Next Steps
After applying the first coat of joint compound, allow it to dry thoroughly. Drying time varies. After you put on the first coat, let it dry completely. Drying can take 24 to 48 hours, depending on the temperature and humidity. Always check the manufacturer’s instructions for drying times. Don’t rush this step, or the compound might not stick well or could dry unevenly. more apparent after the compound sets. Good lighting helps identify imperfections. If you find low spots, apply a second coat for even coverage. For additional coats, a broad knife is often more effective than a standard taping knife, as it feathers edges and creates a smoother transition.
Make sure the last coat of compound is totally dry before you start sanding. Use fine-grit sandpaper to smooth out any bumps or rough spots. Wear a mask to prevent breathing the dust.
Questions? Reach out anytime here.